Your Tesla has taken a light hit to the front corner. The lens is not cracked, the lamp still turns on, and the first estimate simply says “replace headlight.” Is the assembly really damaged – and if it is, can you order a replacement by model year alone?
Quick Answer
No. A clear lens or working light does not prove the complete headlight assembly is undamaged. A front-corner impact can affect the mounting tabs, rear housing, alignment points, connector or wiring. After the repair shop confirms the final repair plan, the owner usually only needs to provide the VIN and left or right side. The repair shop or supplier can then identify the matching headlight in its system. An OE number or photo is only needed if the lookup is unclear.
See the 7-point ordering checklist below!
Why a Working Headlight Can Still Have Collision Damage
The lens is only the most visible part of the assembly. A headlight can still illuminate even when a mounting point is cracked or the housing has shifted. That damage may not appear clearly in an exterior photo, especially before the front fascia is released.
- Broken or stressed mounting tabs can allow the lamp to move or sit unevenly.
- A cracked rear housing can affect sealing and alignment even when the lens looks clear.
- A damaged connector lock, pin or nearby harness can cause an intermittent warning or function problem.
- A shifted lamp or surrounding bracket can change beam position and panel gaps.
- Water buildup can indicate a sealing or housing problem. Light temporary mist is different from pooled water or condensation that affects visibility.
What the Visible Clue May – and May Not – Tell You
What you see | What may be involved | What to confirm |
Lens looks clear, lamp feels loose | Broken tab, housing or attachment point | Teardown photos and all mounting locations |
Lamp works but flickers or shows an alert | Connector, pin, module or wiring issue | Connector close-up, diagnostic result and module plan |
Water is collecting inside | Seal or housing damage | Whether water is pooled or output is affected |
Beam or body gap looks uneven | Shifted mounting or surrounding collision damage | Bracket/body condition and headlight aim |
Estimate only says “headlight” | Incomplete parts description | VIN and left/right side; the supplier verifies configuration and included components |
7 Checks Before Ordering a Tesla Headlight Replacement
- Wait for the final repair plan. Use the teardown result and final parts line, not only the first photo estimate.
- Confirm left or right. Headlight assemblies are side-specific.
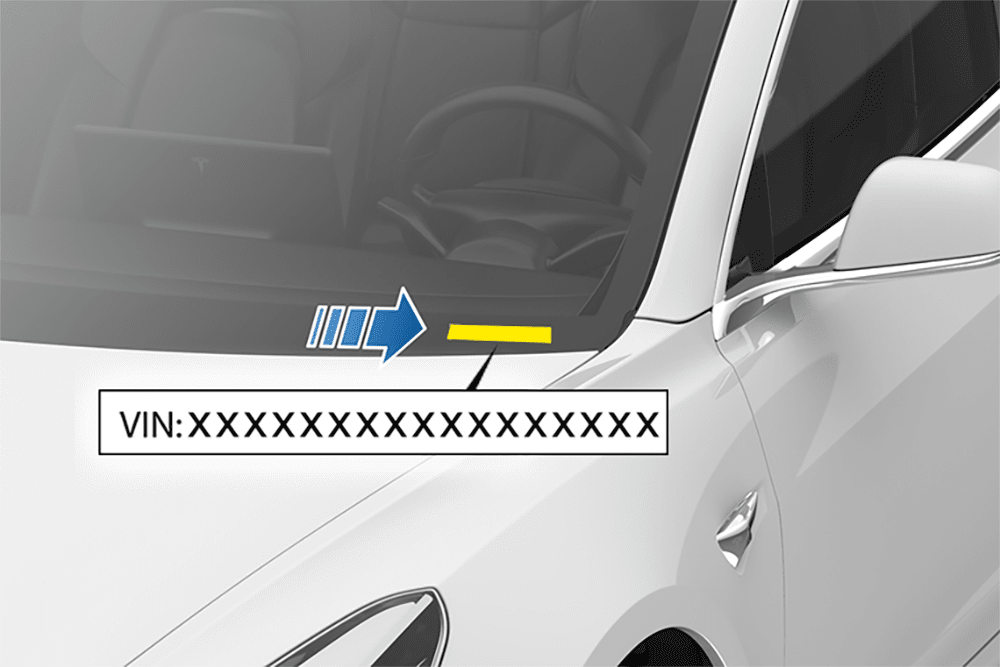
- Provide the VIN. It normally gives the repair shop or supplier the model, production details and market information needed for a system lookup.
- Send the left or right side. Headlight assemblies are side-specific, so this is the second standard detail needed for the parts check.
- Confirm standard LED or Matrix lighting. Similar-looking units may use different lighting technology or vehicle configuration.
- Check the connector and included components. Ask whether the listing includes, or requires transfer of, modules, brackets, seals, wiring or hardware.
- Plan the installation follow-up. Applicable Tesla service procedures include connector handling, software reinstall and headlight adjustment after replacement; the exact repair procedure should be verified for the vehicle.
Tesla Model 3/Y Full LED Headlight 2017-2025 Left | OE 1077371-00-J
Model 3/Y Matrix Headlight 2020-2025-Left | OE 1514952-00-C
Standard LED vs. Matrix: Why Model Year Alone Is Not Enough
Tesla lighting can vary within a model range. For example, UM Auto Supply lists the non-Matrix left headlight under OE 1077371-00-J and the corresponding right side under OE 1077372-00-J for compatible applications. Matrix examples include OE 1514952-00-C on the left and 1514953-00-C on the right. These are reference examples, not a universal year-only interchange rule. Order only when the original OE number, side, connector and lighting configuration agree with the product listing.
Can a Broken Mounting Tab Be Repaired Instead?
Sometimes a repair facility may be able to replace a separate bracket or repair a limited mounting issue. In other cases, damage to the housing, sealing surface, alignment point or electrical components may make a complete assembly the more appropriate repair. The decision should be made after the lamp and surrounding structure are inspected – not from the lens alone.
A Lower-Friction Ordering Path
- Have the collision or repair shop identify the damaged area and final parts requirement.
- Start with the VIN and left/right side. Ask for the OE label or photos only if the system lookup is unclear or the repair shop needs to review a specific damage point.
- Ask a parts supplier to verify the listing against those details before payment.
- Have the assembly test-fitted, connected, checked and aimed by a qualified repair facility before final reassembly.
Tesla Headlight Ordering Checklist
FIRST TWO ARE IMPORTANT!
- VIN
- Left or right side
- Final repair plan after teardown
- OE number only if requested after lookup
- Standard LED or Matrix configuration
- Photos only if needed for damage or fitment clarification
- Mounting tab and housing condition
- Modules, brackets, seals and hardware included or transferred
- Installation, software and headlight-aiming plan
Why UM Auto Supply Is Different
UM Auto Supply supports Tesla owners, repair shops and collision facilities with locally supplied aftermarket replacement parts from Richmond, BC. For a routine headlight parts check, send the VIN and confirm left or right side. We can use those details to identify the corresponding application in the system before ordering. If the lookup is unclear, we may then request the original OE label or a specific photo. Final diagnosis, installation and adjustment remain the responsibility of the repair facility.
CTA: Before ordering a Tesla headlight, send UM Auto Supply your VIN and left/right side by WhatsApp OR Email. We will use the system lookup to check the corresponding application.
FAQ
Yes. Electrical operation does not confirm that the housing and mounting points are intact. A loose or shifted lamp should be inspected after teardown.
Send the VIN and confirm left or right side. In most cases, the repair shop or supplier can use those two details to identify the corresponding headlight in its system. An OE label or photo is only a follow-up if the lookup is unclear.
Do not assume they are. Match the original OE number and lighting configuration, and confirm any required modules or software steps.
Tesla notes that temporary condensation can occur with humidity or temperature changes. Water buildup or condensation that affects light visibility should be inspected.
Applicable Tesla service procedures include software reinstall and headlight adjustment after replacement. Headlight aiming is separate from camera calibration; the repair facility should follow the procedure for the exact vehicle.
Official references for the published article
Tesla Model 3 Service Manual – Headlight Remove and Replace
Tesla Model Y Service Manual – Headlight Remove and Replace
Tesla Model Y Owner’s Manual – Lights and Condensation
Editorial note: link to official references at the end of the article. Do not copy repair steps or imply that the Blog replaces a service procedure.